We will receive a commission if you make a purchase through our affiliate link at no extra cost to you. Please read our disclosure policy for more information.
My blog is all about finding ways to make extra money today, so I decided to write about how to make money by flipping furniture for beginners.
You can also be thrifty and save money by hunting for used furniture and giving it some life! After all, you probably don’t want your home to look like an Ikea magazine because it could be too “cookie-cutter” for your liking.
Plus, if you’re a frugal person with a creative personality, you might be looking for fab and chic ways to furnish or decorate your home on a budget.
Aside from saving money, I am going to detail my personal experience of how I made money by flipping and refurbishing old furniture.
Realistically, you could earn an extra $500 a month even if you just pick up this fun hobby as leisure or entertainment. If you’re a bit more serious and want to spend a little more time in this activity, then you could earn $1,000 per month or even $5,000 per month as a full-time career flipping furniture.
So, yes it is profitable if you have an eye for dated furniture pieces and/or have a strong passion for woodworking along with some painting and designing.
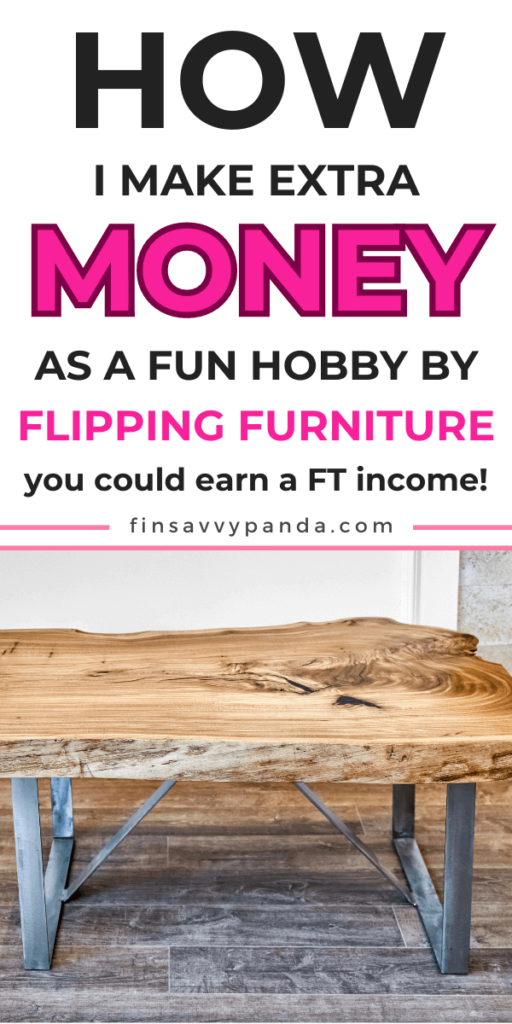
PIN (OR BOOKMARK) THIS PAGE: I’ll be updating this post so make sure to pin this image and save it to your Pinterest board. That way you’ll be able to come back to this page and learn how to make money flipping furniture! You could also follow these same steps to save money on your furniture if you’re looking for budget-freindly home decor ideas!
Flipping Furniture For Money
So you’re excited to glam up your new place after moving in, but you realized something…
“I’m too broke for new furniture” or “I could afford new furniture, but I just don’t want to spend that much,” you say.
Don’t fret because I have a solution for you!
Yes, you can own beautiful furniture without spending a fortune!
And when I say “without spending a fortune” I really mean spending close to nothing considering the amount of stuff you can get.

On the flip side, you could even earn extra money by flipping old furniture!
Before I get into the details, you have to be willing to do a little bit of work. I promise, however (to most of you), the amount of money you save (or make) will be worth it!
For those of you who don’t know me, I enjoy refurbishing furniture as a hobby [for extra income]. Yes, I’ve made on average $500 per month flipping furniture (as a beginner) and this was all during my spare time. I’ve had months where I barely made $400, but I’ve also had times where made over $1,000 per month. That meant selling an average of four to six small pieces per month (i.e. coffee tables, console tables, side tables, and nightstands).
From my experience, you earn even more with bigger pieces such as dining table sets and bigger chest drawers. Depending on your location, the type of furniture you flip, and how much effort you put into this side gig, your earnings will vary. However, the most important part is you having fun with it! 🙂
Now, you don’t have to do it to earn more, but you can certainly do it to save a ton more and add value to your space!
I personally find that this is one of the greatest hacks to make your home look expensive (and personalized) without breaking the bank!
If you scroll down, closer to the bottom, you’ll see my very first before and after project.
To be very honest, when I first started no more than a year ago, everything seemed so intimidating. Even until now, I’m still learning. So, if I can do it, you can too (seriously)!
With that said, let’s get started, shall we?
How To Make Money Flipping Furniture for Beginners
Here’s what to do to get more bang for your buck on furniture. This also applies if you want to make money with flipping furntiure.
1. Go treasure hunting!
First of all, hunt for diamonds in a rough.

Avatar created using Bitmoji
I also wrote a separate post about how to get free stuff online, so you can use those ideas to hunt for hidden gems.
Here are places where you can find valuable treasures:
- Garage sales
- Thrift shops such as Goodwill or Value Village
- Online such as Kijiji, Craigslist, VarageSale, Carousell, and Letgo (now called OfferUp)
- Sign up for Trash Nothing app. Although everything is free on this app, you should also contribute by donating your stuff as well. But you don’t have to if you don’t have anything to donate.
I personally don’t like thrift stores and prefer shopping online, so my go-to is Kijiji, Letgo, Craigslist, and the Trash Nothing app. The awesome thing about them is that they each have a free section.
So many desperate sellers are willing to let go of solid wood furniture for a really low price or for FREE! And no, it’s not too good to be true. In the past, I’ve picked up many free items (or between $5 to $25) in good condition that didn’t require a whole lot of work. Seriously, pay attention because you’ll be surprised what people give away!
Secondly, when you’re browsing around, look past the flaws. Instead, use your inner creativity to envision the potential. For example, a lot of your finds will look like the stuff your grandma used in her days, but anything can be easily modernized with your special touch. I promise!
If you don’t find exactly what you want, don’t sweat it! Patience is key to finding awesome treasures.
Now it’s time to get your DIY groove on!
Time to roll up your sleeves and have some fun! ???
2. Clean it.
Give your baby a good scrub! Use a paper towel to remove any dust before cleaning.
Now it’s also time to bust out the white vinegar and water to remove the dirt and grime. I typically do a 50/50 mix in a plastic cup.
Generally speaking, vinegar is a great ingredient for disinfecting and eliminating grease. Not to mention, it’s an inexpensive cleaning solution. At first, you will notice the strong smell of vinegar, but it goes away after a few hours.
3. Products I recommend to do minor fixes
Here are products I use and recommend if you want to save money or make extra money with your furniture:
You know, it’s absolutely fine if there are minor dings and holes in your pieces because you can easily use this Elmer’s Wood Filler![]() to fill them in.
to fill them in.

![]()
Once it’s filled, you can use a 2-inch putty knife![]() to flatten the wood filler to level.
to flatten the wood filler to level.

![]()
After the filler dries within a day, sand the wood’s surface smooth until filler becomes flat. To do that, use a 300 plus grit sandpaper from this assorted pack.![]()

![]()
Now that we’re done with the dings and scratches, next comes the sanding.
4. Sand it.
To be honest, if there isn’t any paint scraping off the wood (or laminate), you can technically skip this step. But it’s recommended to give it at least a light sanding because your primer and paint will adhere better to the furniture’s surface.
If you decide to sand it, make sure you do this outdoors with these super cool DEWALT safety goggles![]() . Don’t forget about these masks
. Don’t forget about these masks![]() too! Always remember that safety comes first!!
too! Always remember that safety comes first!!

![]()

![]()
Next, use your random-orbit sander tool. Alternatively, you could also manually sand with your hands… it will just take longer, LOL.
Here is the DEWALT random-orbit sander![]() I use and recommend:
I use and recommend:

![]()
Which sandpaper type you should use:
40-60 grit: for furniture that requires any major sanding and/or stripping.
80-120 grit: once the major stripping is done, use an 80-120 grit to sand off any imperfections.
300 grit plus: for the final smoothing process, finish with a light grit of 300 plus.
When you’re done with sanding (finally!!), use any tack cloth to remove all specks of dust.
5. Prime it.
Next, it’s priming time!
For those who don’t know, the primer is a paint product that is used prior to painting. This helps your paint adhere to your furniture’s surface better, so I wouldn’t recommend skipping this step (especially if you chose not to sand).
Here are my favorite brands:

Avatar created using Bitmoji
I usually stick with KILZ Primer![]() or Zinnser primer. But knowing you’ll be overwhelmed with so many choices, I recommend something standard like the Zinsser Bulls Eye 1-2-3 Primer.
or Zinnser primer. But knowing you’ll be overwhelmed with so many choices, I recommend something standard like the Zinsser Bulls Eye 1-2-3 Primer.

![]()
On the other hand, spray primers like this![]() are fast and easy to use. But you’d be getting less product at the expense of convenience. That said, I personally prefer using non-spray because a can of primer goes all long way. This option is definitely a better bang for your buck!
are fast and easy to use. But you’d be getting less product at the expense of convenience. That said, I personally prefer using non-spray because a can of primer goes all long way. This option is definitely a better bang for your buck!
After when you’re done priming your furniture, wait at least 3 hours for it to dry.
Once it dries, use a 300 plus sandpaper to lightly sand out any rough surfaces. Also, make sure you clean off any dust or lint from the surface prior to the next step, which is painting. This can be done with any clean reusable tack cloth.
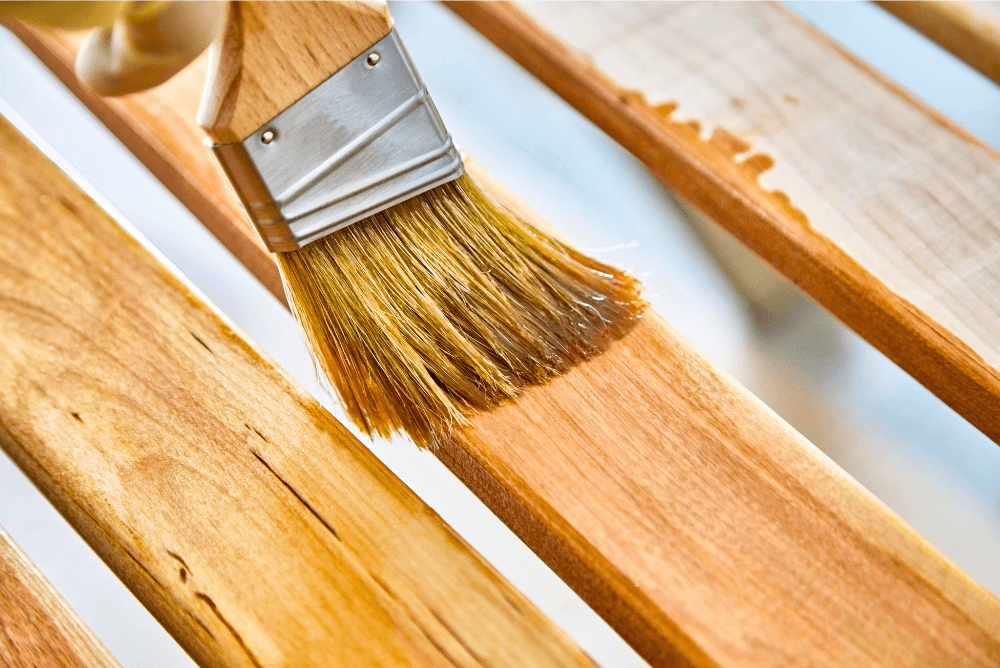
6) Paint it!
Here comes the moment you’ve been waiting for!
YASSSSSSS! It’s time to pull out your brushes to paint! Woo-hoo!!
The only paintbrush I’d ever recommend:
This is the exact same Purdy paint brush set![]() I have and you will need a couple of these angled brushes to get into the tiny edges of your furniture. Purdy paint brushes
I have and you will need a couple of these angled brushes to get into the tiny edges of your furniture. Purdy paint brushes![]() are high quality and very affordable too. This is what you NEED to get a nice finishing. Do not, and I repeat, DO NOT invest in poor quality paint brushes. The type of paint brush you use makes a world of a difference and your buyers (including yourself) will be happy with your finishes. I’m not a professional, but I can assure you that you’ll thank yourself for buying these.
are high quality and very affordable too. This is what you NEED to get a nice finishing. Do not, and I repeat, DO NOT invest in poor quality paint brushes. The type of paint brush you use makes a world of a difference and your buyers (including yourself) will be happy with your finishes. I’m not a professional, but I can assure you that you’ll thank yourself for buying these.
I recommend this value pack of 3![]() over a single brush
over a single brush![]() because there will come a time where you wish you had more than one paintbrush. Don’t make the same mistake I did.
because there will come a time where you wish you had more than one paintbrush. Don’t make the same mistake I did.

![]()
I love paint SO much because it adds value to almost anything (i.e. furniture, walls, doors, tiles, you name it).
Like the primer, a gallon of paint can go a long way as well. For example, you can paint about 15 pieces of furniture depending on the size of your item. With that said, refurbishing and glamming up furniture is far less than what you would pay at Bombay, Pottery Barn, Urban Barn, and even Ikea. Not only can you find great quality furniture at a low price, or for free, but you can personalize it any way you like.
The paint products I recommend:
Going back to our discussion about painting, I recommend an interior latex-based paint with built-in primer. Though it’s built-in with primer, I wouldn’t skip priming (step #5) because this really adheres the paint to your furniture’s surface.
Most of the time, I would paint 2-3 coats for a more opaque look.
My favorite paint of all time:
The paint I absolutely LOVE is Home Depot’s Behr Premium Plus Ultra Interior Paint and Primer with a matte finish. I found this paint product on Amazon, but I’m not going to link it to their site because you’re better off buying it directly from Home Depot at a lower price.
Depending on your personal preference, you can choose between a matte, semi-gloss, or glossy finish.
Here are reasons why I prefer a matte finish:
- It mixes well with Plaster of Paris
 , an ingredient I use to create a chalk-finish look. Read below on how to make this paint.
 - The chalk-finish matte look is great on its own, or for distressing to add character
- A matte look generally hides imperfections very well, whereas gloss will scream out some flaws.
DIY Chalk Paint Hack:
When I was looking for chalk paint, I found that Annie Sloan was too expensive for me. With that said, when I googled for something more budget friendly, I discovered a DIY version. I found this DIY on Lowe’s website that you can try yourself. As a result, I absolutely love this hack and I really recommend you to try it out!
Here is the summarized instruction:
- Mix together a 1/3 cup of Plaster of Paris and a 1/3 cup of cool water.
- Stir it with a stick until it becomes completely smooth.

![]()
7) Design it!
Now comes THE MOST FUN part – hah, at least for me. Go wild and design the crap out of it!
How you want to design it is up to you. The possibilities are endless.
Alternatively, you can always skip this step if you like to keep it simple.
The easiest hack is swapping the old knobs for nicer ones (as I mention below). In addition, if you want to go further with your designs, you can use stencils and a stencil brush to transfer an image, pattern, or motivational quote onto your piece.
Below is an example of one of my first DIY attempts.
BTW, I apologize for these blurry pictures. I promise that this finished nightstand looks 100x better in person! When I first started out, I didn’t know how to take better pictures but it definitely looks way better in real life!
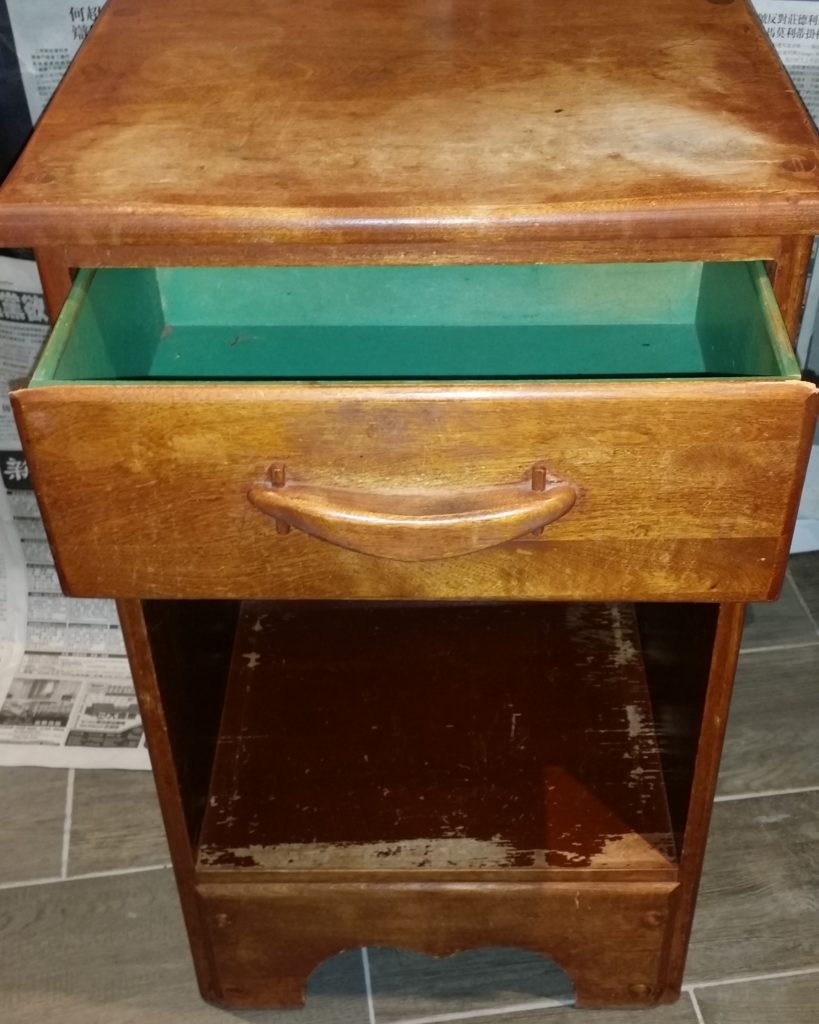
Before

After
You can also see a couple of more pieces that I finished on this separate post here where I talk about earning more money.
Michaels coupon maniac:
As you can see, I replaced the old pulls with white ceramic knobs. They came from my favorite craft store, Michaels, for $2.30 per piece (after tax) with a 55% coupon. I also purchased a reusable stencil from them for $6 (after tax) with that same coupon.
Almost every week, they offer a 50%-55% coupon which you can always find on their website. To sum things up, this piece only cost me a total of $10.60 with a little bit of sweat equity.
The pumpkin knobs:
I’m a huge fan of these timeless ceramic pumpkin knobs![]() ! When you buy 8 pieces, it works out to be roughly $2 to $3 per knob which is totally worth the investment if you want to make money with your furniture.
! When you buy 8 pieces, it works out to be roughly $2 to $3 per knob which is totally worth the investment if you want to make money with your furniture.
For my Canadian readers, you’ll notice that those pumpkin knobs aren’t available to us (boo!), so you can shop this product![]() that’s almost identical. It’s the same ones I’ve used for my furniture flips and my buyers love them! The only downfall is I waited one month to get them shipped, but the good thing is I was in no rush to use them.
that’s almost identical. It’s the same ones I’ve used for my furniture flips and my buyers love them! The only downfall is I waited one month to get them shipped, but the good thing is I was in no rush to use them.
Click on the pumpkin knobs to shop and see how gorgeous they look on furniture:

![]()
Spice it up with some pretty stencils:
Here are the reusable decor stencils![]() that I personally use and LOVE. They are absolutely beautiful and it adds A TON of value to your furniture. The best part is you can wash and reuse them again and again. Honestly, this investment is worth it!
that I personally use and LOVE. They are absolutely beautiful and it adds A TON of value to your furniture. The best part is you can wash and reuse them again and again. Honestly, this investment is worth it!
Here’s a secret: buyers love furniture with designs on them. They go nuts and are willing to pay more for them. So, the hack is to use these stencils to add more value to your product!
Click on the product to learn more about these beautiful stencils to start earning extra money with your furniture flips:

![]()
It doesn’t stop here, folks! Lookin’ pretty ain’t good enough without protecting it, which I talk about in the next section.
8) Seal and protect it!
First, determine whether your piece is a high-traffic item. For example, coffee tables, dining tables, chairs, and dressers are considered high-traffic compared to a lamp, or side table used for décor purposes.
And if you were wondering… yes, you can refurbish lamps as well!
That said, high-traffic items should be sealed and protected because you’re always going to be eating at your coffee and dining tables. On the contrary, you probably won’t be touching your lamp as often.
Again, I’m still progressing and learning so I’m definitely no expert here. But generally speaking, it is recommended to use Polycrylic![]() instead of wax as a protective finish on high-traffic pieces. From my experience, Polycrylic products will prevent your tabletops and dressers from scratching.
instead of wax as a protective finish on high-traffic pieces. From my experience, Polycrylic products will prevent your tabletops and dressers from scratching.
My go-to protector:
I use this Polycrylic with a Satin Finish![]() .
.

![]()

![]()
Or if you like a matte finish (which I personally do), you can use this product by Minwax![]() . But note that the Matte finish is a lot pricier. In the end, it depends on which finish you like.
. But note that the Matte finish is a lot pricier. In the end, it depends on which finish you like.
In terms of Polycrylic application, it’s best to apply at least 3 coats. Again, I recommend using a high-quality paintbrush such as the Purdy Paint Brush![]() I mentioned earlier. I promise that you won’t regret spending more on a quality paintbrush because the results are far better than a cheap one!
I mentioned earlier. I promise that you won’t regret spending more on a quality paintbrush because the results are far better than a cheap one!
Not just that, but you’ll also avoid wasting time re-doing it over and over again.

Avatar created using Bitmoji
Now that you’ve applied the first Polycrylic coat, wait at least one hour for it to dry.
After it dries, very gently sand the surface with a 300 plus grit sandpaper. Before applying the next coat, make sure all specks of dust are completely removed with a tack cloth. Repeat until you’re satisfied with end results.
Wax products:
On the other hand, wax products such as the Minwax Paste Finishing Wax![]() delivers a beautiful finish. It’s not surprising that many DIY’ers love this finished look.
delivers a beautiful finish. It’s not surprising that many DIY’ers love this finished look.
The downside is it does very little protecting your baby. On the positive side, however, you can apply wax on top of Polycrylic to enhance the finished look. Before applying the wax, make sure that the Polycrylic is completely dry. For best results, wax after 24 hours of Polycrylic application.
And… voila, time to enjoy!
There you have it – your very own customized from-drab-to-fab furniture!

Avatar created using Bitmoji
With a small upfront cost of primer, paint, sanding paper, and other equipment, you can go ahead and work on as many pieces as you like.
With that said, you can be as creative as you wish with your coffee table, side tables, wardrobe, dresser, bookcase, you name it.
Overall, if you want quality and solid furniture for less, these are great projects for you and your partner to tackle on a no-spend weekend. Not only will you be saving money and adding value to your home, but you will also have fun while gaining a skill!
Sure, maybe your first piece won’t turn out as what you expected (that was me), but you’ll learn as you keep going. My advice is to never give up because you’ll never know what you can achieve!
How to list and sell your furniture for extra money
If you’re not consuming your own furniture that you flipped, you can sell it for a profit.
To learn about this step, you can read my separate post about the best places to sell furniture nearby.
I sincerely hope my step-by-step guide in this post helps you save money and/or earn extra money!
FAQs About Flipping Furniture For Money
Here is a list of commonly asked questions you may have about flipping furniture and making a profit out of it.
1. Is furniture flipping worth it?
Yes, based on my own experience, flipping furniture is definitely worth it if you have a passion for creative work!
I must admit, there were a few pieces that ended up being flops for me, and they remained unsold items in my garage. Based on my evaluation, the unsold items were likely due to poor color choice or perhaps a design element that was too niche for the general taste.
Despite those few unsold pieces, I successfully sold over 90% of the furniture I flipped. I am so happy to say that after factoring in equipment and labor costs, I still made a significant profit!
If you’re considering turning this into a passive income source, you might think about hiring the labor work and managing most of the marketing aspects like social media or listing them online for sale.
For what it is, I consider this more of an active hobby, gig, or career. But it can be therapeutic and very rewarding, especially if you enjoy crafting masterpieces for your clients.
2. Is refurbishing furniture profitable?
Yes, refurbishing furniture is profitable if you can bring life and value to the people consuming.
People in this niche are looking for something unique that cannot be found in common furniture stores like Ikea. If you add a bit of vintage or charm to the piece, people may appreciate your furniture even more.
Also, from my past projects, I can see that the item is more profitable and sells faster when the product is made of solid wood vs. when it’s MDF or plywood. But other factors also include your design and whether it captures your customers’ interest.
3. How much money can you make flipping furniture?
As a beginner, you can potentially earn more than $500 to $1,000 per month with smaller items like coffee tables, nightstands, TV stands, or a couple’s dining sets. This is the range I personally earned when I first started flipping furniture with no experience!
If you opt for larger furniture pieces like cabinets for a dining room, family dining sets, dressing tables, and pantries, then the profits can be higher. However, these types of items tend to take longer to sell compared to smaller pieces because of their size, shipping considerations, and higher price tag.
Over to you
Let me know how your project goes! I would love to hear how much money you spent. And oh yeah… don’t forget to show your before and after pics 🙂
Did you enjoy this post? If so, don’t forget to spread the love on Pinterest! 🙂

Do you ever “strip” the old finish off, or just cover it with primer?
Hey Madeline
I’ve tried both. I personally find that stripping off the old finish is better but it can work with just priming it over as long as the outside surface doesn’t have some noticeable glossy varnish. Overall, the results are much nicer and longer-lasting when you spend the time to strip off the old finish. 🙂
Thanks for this tips. But can i do this from nigeria?
Hi! Thanks for the tips! I’ve been looking for a fun side hustle hobby like this, and I’m excited to try it / to be crafty in general! I had a question for you though. Where / through what medium do you typically try to sell your finished products through? 🙂 thanks in advance!
Hello Nedra!
Thanks for dropping by!
I’m glad you find this helpful! 🙂
I personally use Letgo, Craigslist, and VarageSale. If you’re in Canada, I also recommend Kijiji.
I also heard from others that Facebook is a good place to post as well! On top of that, I know of someone who started an Instagram journey and just grew from there!
Once you get the hang of it, you can also sign up for Etsy and start a profile and start posting your pieces there.
Hope this helps! ❤️
My dad just told me everything in restoring old furniture. So I’m just thankful that I’m not required to buy all the time.
Yes! It’s always fun to see how creative we can get with dated furniture. The results can be amazing and so much better than what you find at the furniture stores!! 🙂
Thanks for dropping by!